The instructions below are for setting up a Noteflight Learn site with Google Classroom integration. If you are not integrating with Google Classroom, then please use the setup instructions for either Standalone or LTI Integration.
Note* If you are a current Noteflight Learn user and wish to switch your site to a Google Classroom integration, please contact support@noteflight.com and we will assist you with this transition.
Feel free to watch this short video on how to set up a Noteflight Learn site with Google Classroom integration, or read the step-by-step instructions below!
Google Classroom Site Setup Instructions
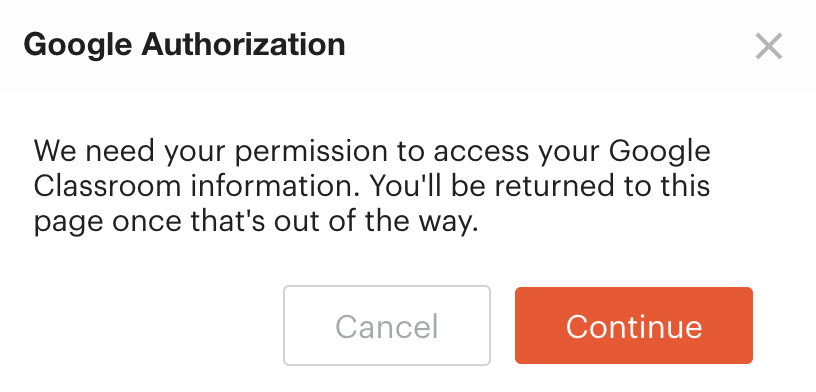
1. Login to Noteflight with Google using your Google Classroom email. Then open the hamburger menu in the upper left to extend the left menu and select "+ New Site".

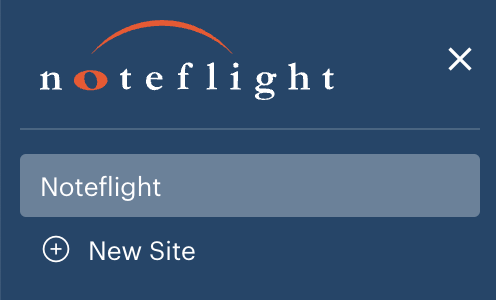
You can also use this direct link: https://www.noteflight.com/site/admin#/newSite
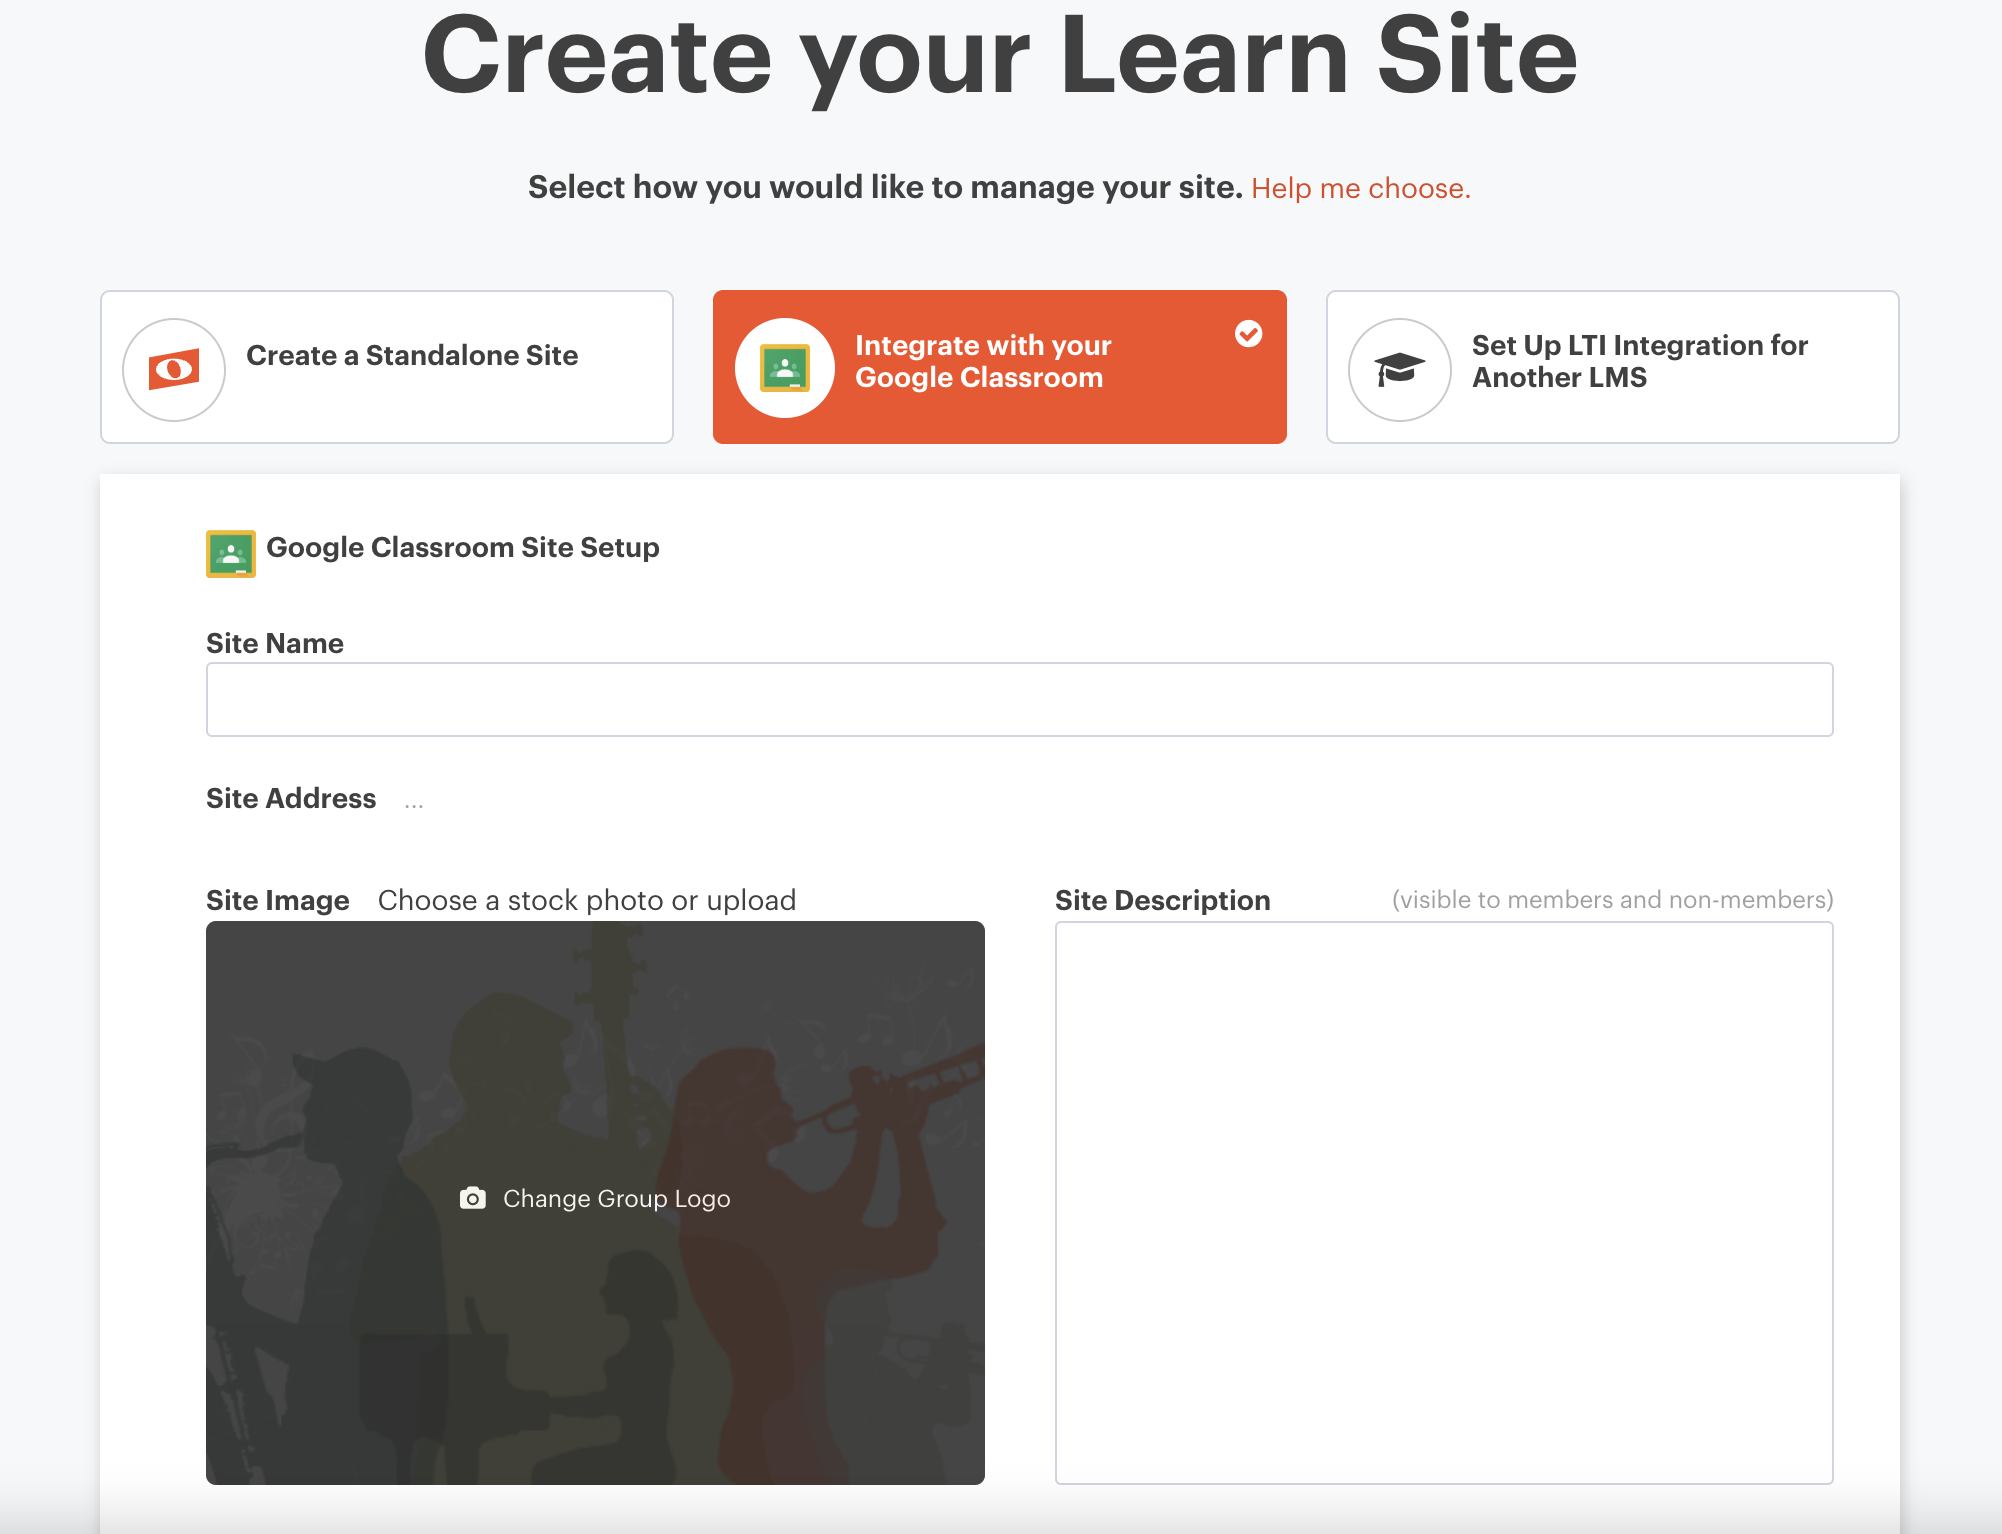
2. Choose Google Classroom as the integration option.

4. Choose the title of your Noteflight Learn site and supply a description and image if you'd like. This creates a brand new site with its own URL ending in ".gc.noteflight.com". If your site web address does not end in ".gc.noteflight.com", please contact support before proceeding.
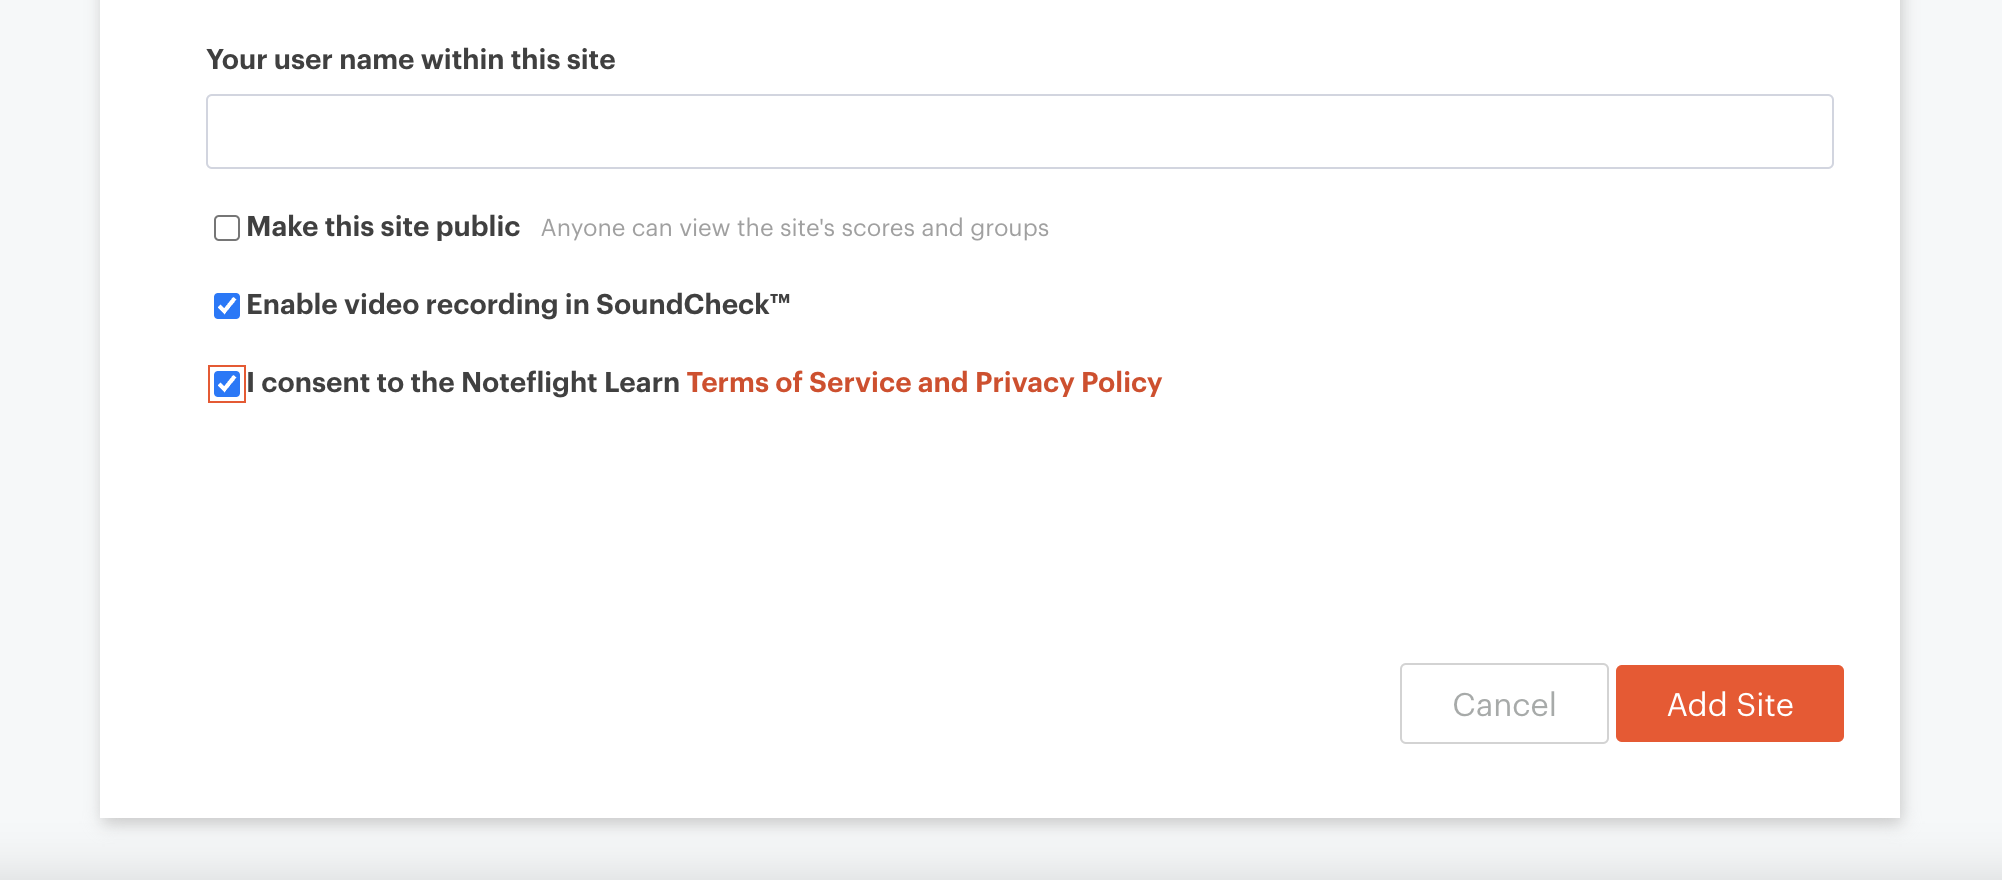
If you'd like the capability to share a score with everyone, including people outside the site, select the “make this site public" button. This will allow others to view a score if they have that exact score URL. This is useful for students to share a link to a score with their parents.
Once you have all of the fields filled in, select “Add Site" at the bottom. This creates your brand new Noteflight Learn site with your own URL ending in “.gc.noteflight.com".
Bookmark this site name and give it to your students.
Note* Sometimes students will incorrectly try to log in at www.noteflight.com. It's important to note that their account exists only in your Learn site, with its own unique web address (URL) formatted like “sitename.gc.noteflight.com” (with no www). Please make sure students are logging into this site.
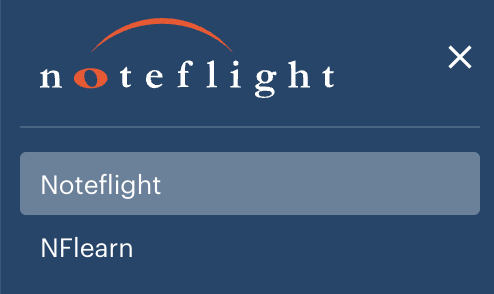
Your site will now be accessible in the left menu:

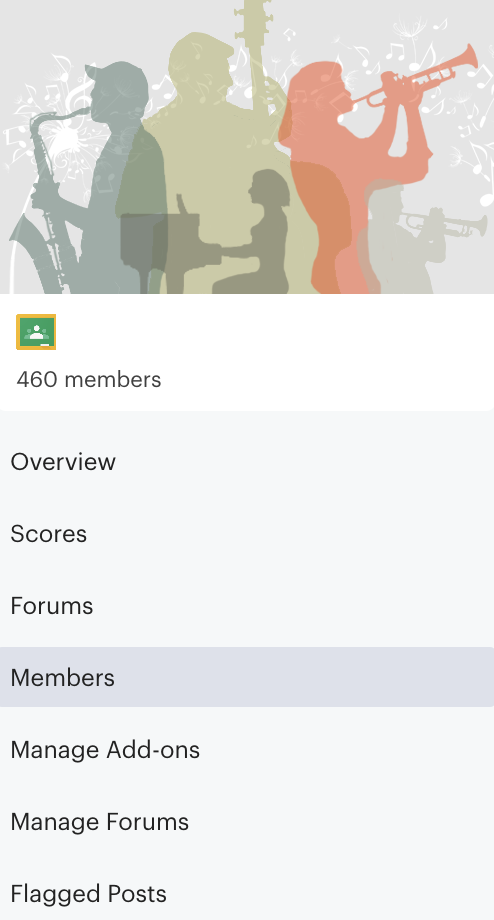
Then select “Members” on the left.
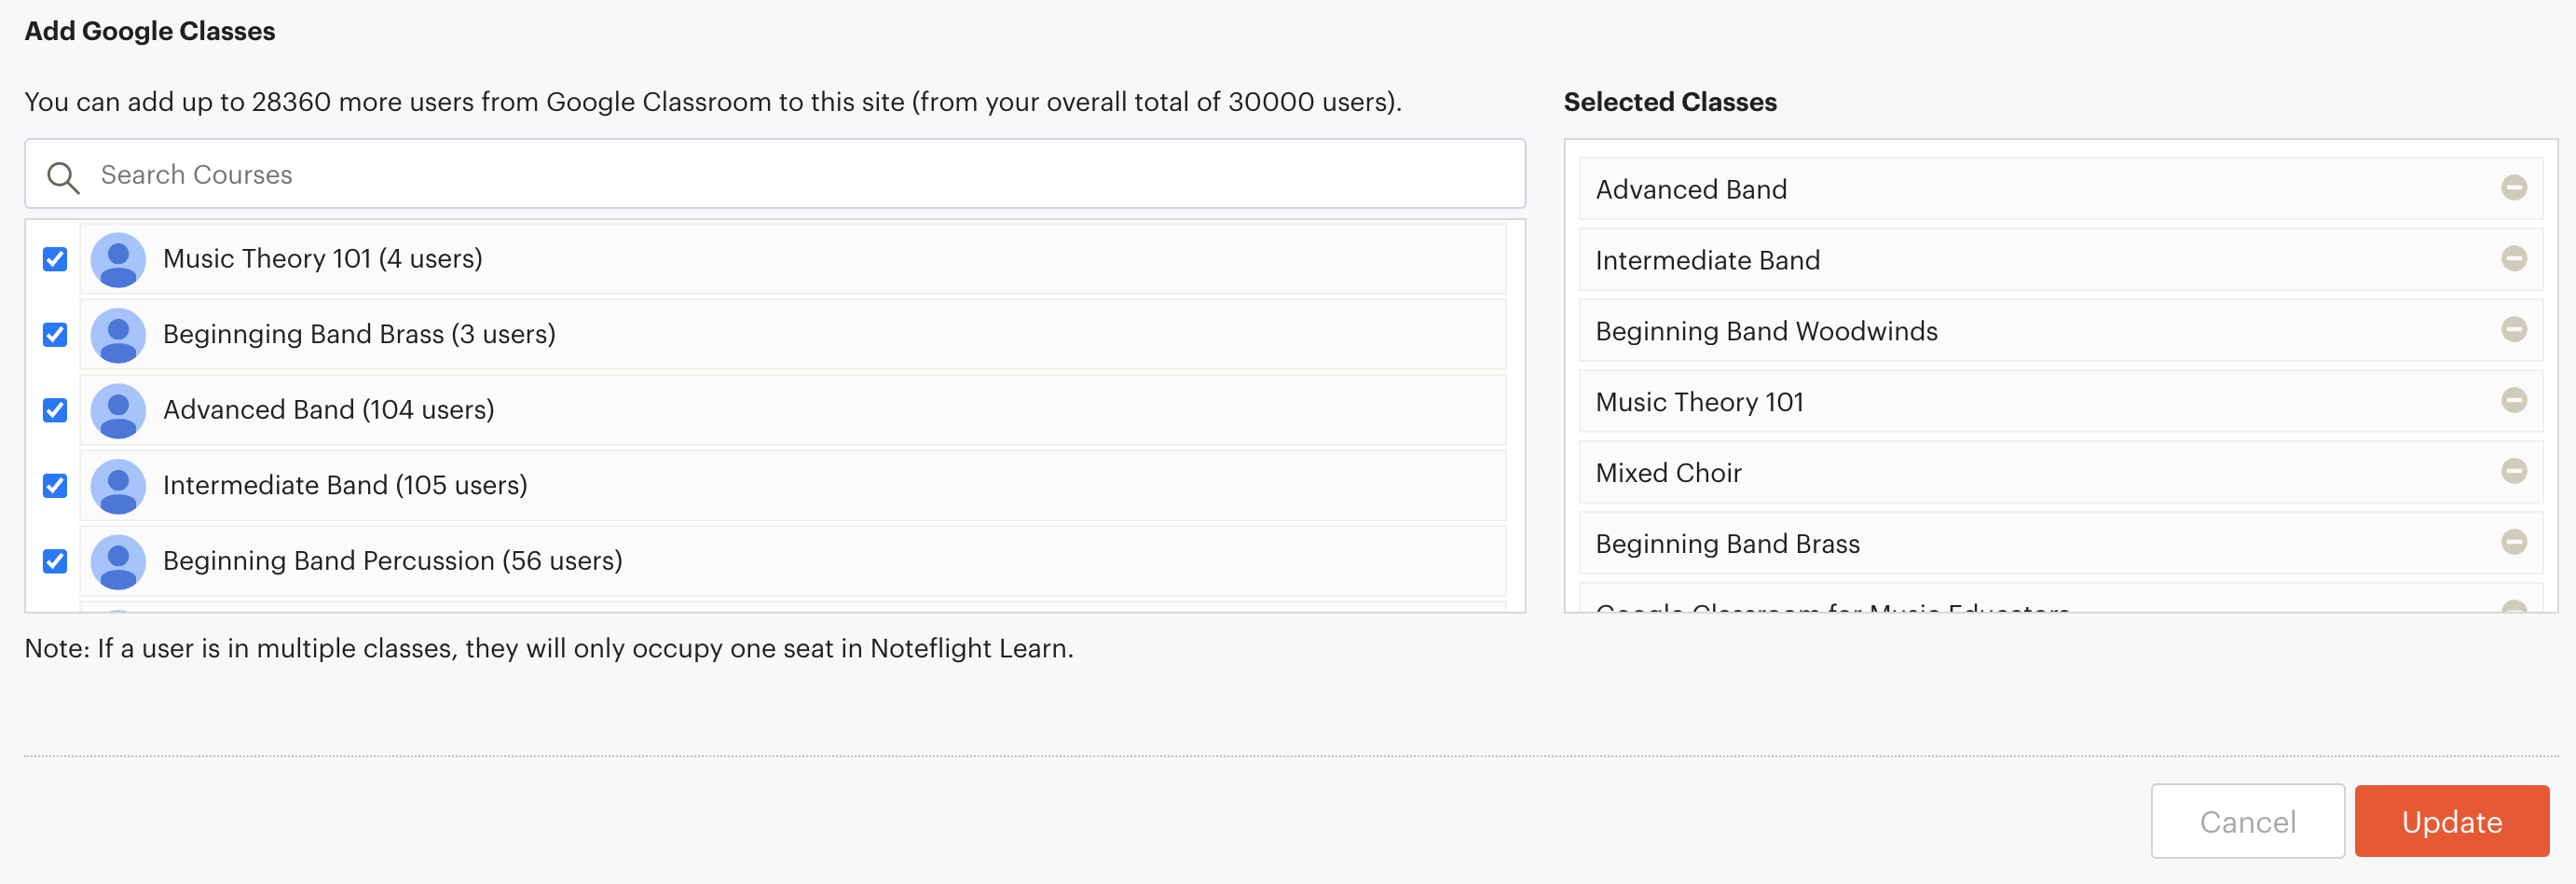
Use the “Manage Classes” button to select which Google Classroom classes you would like to sync. Each class that you sync will be created as a Group inside of Noteflight Learn and all class members will have access to your site. You can also add or remove classes at any time using the same “Manage Classes” option.
6. Use the “Invite Teachers” option to invite other teachers to your site and let them sync their classes. Once a teacher is invited, they can log into your site and use step 4 above to manage their own classes.

Google Login
All users will access your Noteflight Learn site using their Google Classroom email address and password. Be sure to have students bookmark your site URL (schoolname.gc.noteflight.com), and you can post this link as an announcement in your class stream.
You are now ready to Create Assignments with Google Classroom!
